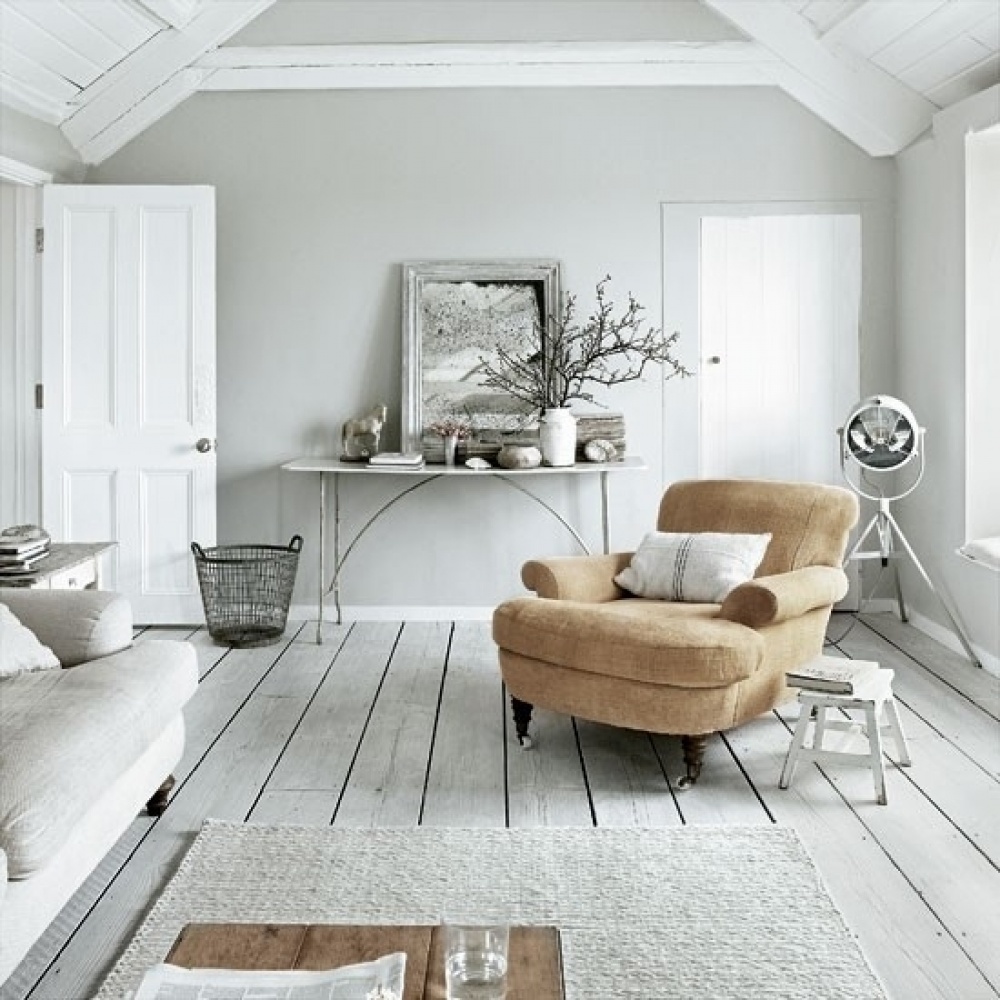
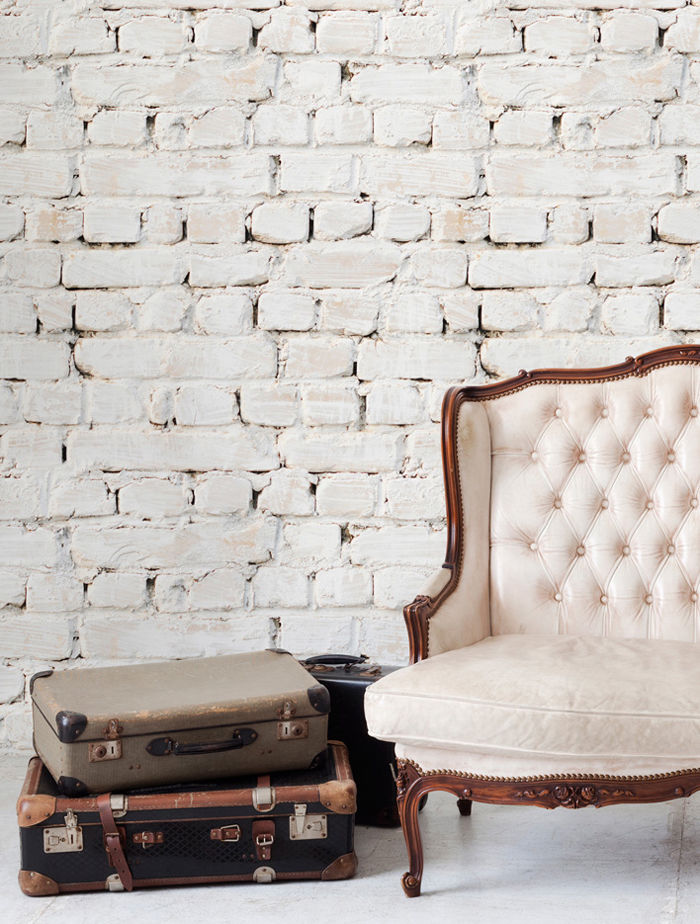
 I love the idea of whitewashing old wood furniture to give it a new lease on life. You can even revamp a wall, floors or even bricks to give that vintage-modern feel to your space.
Learning how to whitewash wood furniture can be a very valuable skill to have when looking for a way to update your living room…its not as simple as whacking on some new white paint.
Try our step by step guide to whitewashing below!
What you’ll need:
White latex paint
Water
White vinegar
Rags
Paint brush
Sandpaper
Paint stirring stick
How to do it?
Step 1: Clean the Furniture/wood. This is a must for any DIY job really. Wood can accumulate oils and dirt that only really showup after you start painting. Take your vinegar (essentially its like a very mild acid) and wipe down the wood with a rag.
Step 2: Remove the any old finish. If your wood has a previous paint or finish job, you’ll need to sand it all away. Use a medium grade sandpaper to get it all off and looking smooth.
Step 3: Clean the wood…again. After you sand, you’ll need to clean off all the dust and debris.
Step 4: Now comes the fun part…time to mix the whitewash! People recommend one part white latex paint to one part water. You can really mix the ratio though depending on what look you’re after.
Step 5: Time to paint! Take a paint brush and use it to paint the whitewash onto the wood surface. Apply it liberally and evenly over the entire wood area, but don’t worry about being too fastidious. It’s meant to have a slightly rustic look anyways. Let it dry for around 3-5 minutes.
Step 6: Wipe It down with a rag and remove excess paint. This gives it that rustic, whitewashed look- but if you make a mistake…never fear! You can always repaint!
Step 7: Coat the paint, with some clear coat to protect the finish and the wood.
Et voila!!
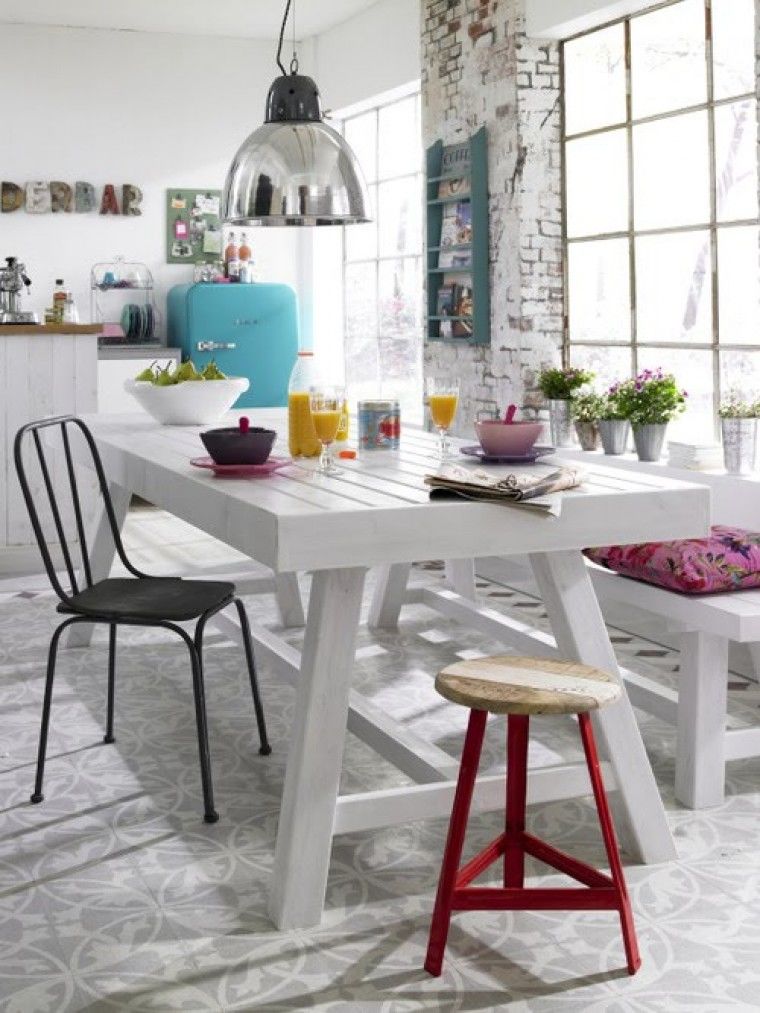
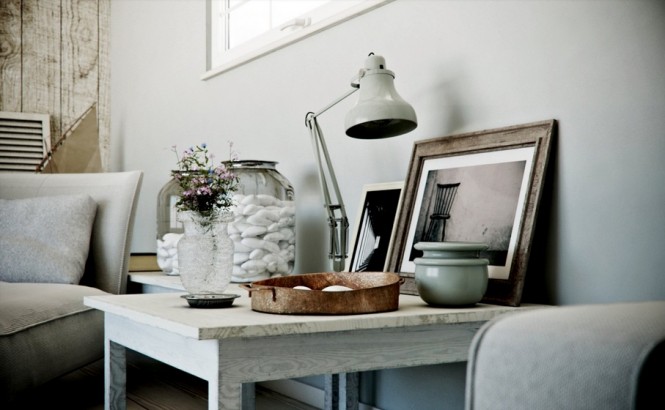
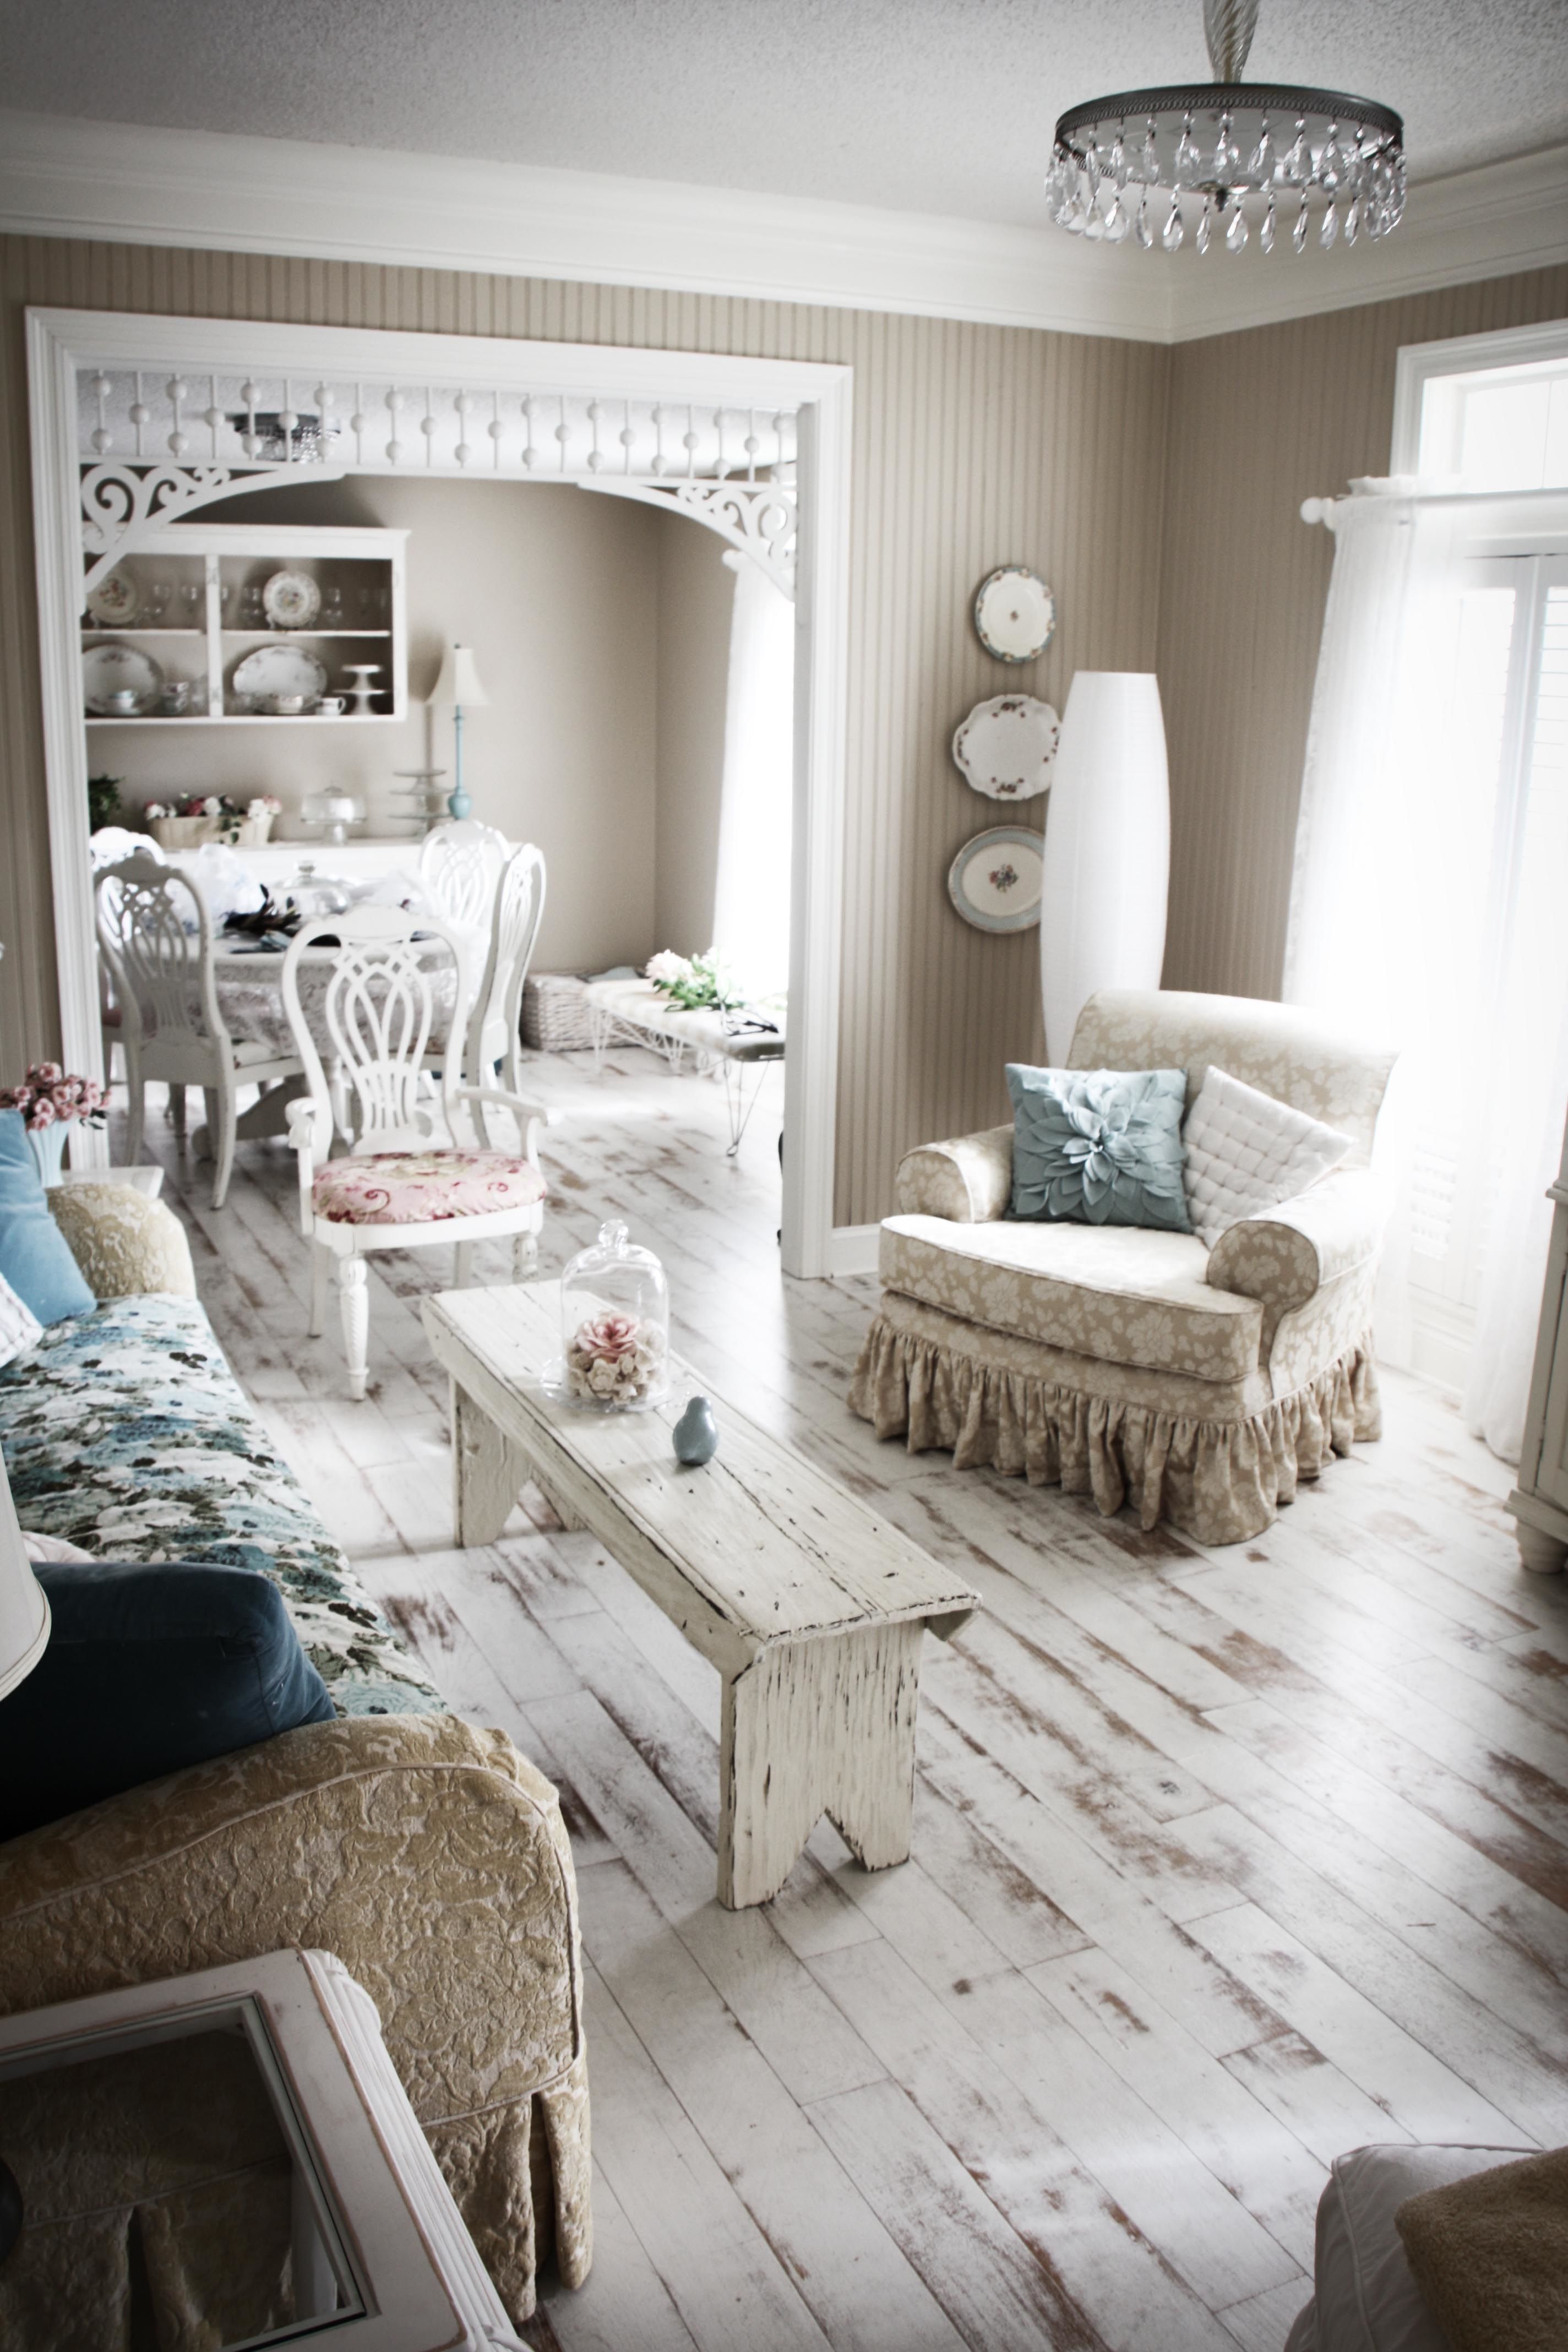
Some inspiration for you below!



6 Comments
Some I like, other rooms,not
Cool!
Fresh looking!
I so want to do this – always such a refreshing look!
great look
Love that look. So romantic.