
Have you ever wanted to create a beautiful flower headband for yourself or someone special? It’s the perfect accessory for any occasion, from festivals and weddings to picnics in the park.
Making your own flower headband is not only fun and creative, it’s also cost-effective compared to buying one. Many people love making flower crowns because they are stylish and a little bit sentimental. They remind us of our childhood days making daisy chains in the park with friends. Creating these lovely accessories brings back fond memories while adding a touch of luscious nature to any outfit.
In this article, we will guide you through the steps of making a stunning flower headband that’s better than bought. Follow these simple instructions, and you’ll have a gorgeous flower crown that will take any outfit to another level.
#1 – Gather Materials
To make a flower headband, you will firstly need to gather all the necessary materials such as flowers (real or artificial), wire cutters, floral tape, and ribbon.
Once everything is gathered, start by measuring the circumference of your head with a piece of ribbon. This measurement will be used as a guide when creating the base of the headband.
Then, select your flowers of choice. The type of flowers used depends on personal preference and style; however, smaller blooms tend to work better for headbands than larger ones. Small and lightweight blooms will be easier to attach and wear on your head without causing any discomfort.
Once you have gathered all the materials, it is time to move onto the next step of creating your beautiful flower headband!
#2 – Assemble Your Flower Headband
Now that you have all your flowers and greenery prepared, it’s time to assemble your flower headband. Get a flexible wire or elastic band that can fit around your head comfortably. You will also need scissors, green floral tape, and some glue.
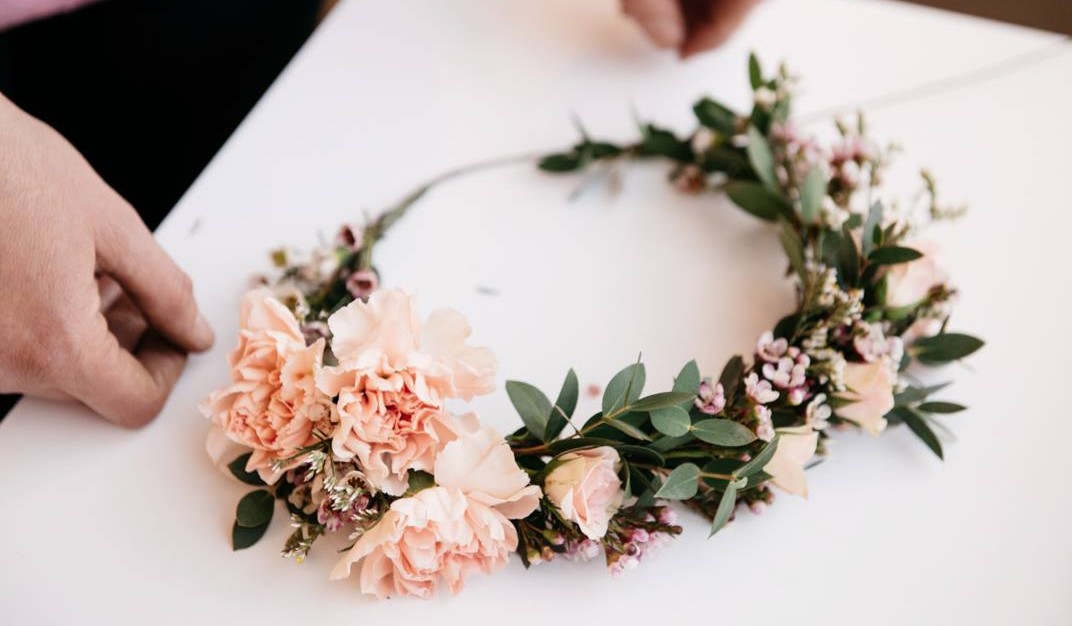
Start by laying out the base of your headband – this can be a plain plastic hairband or even an old piece of ribbon tied into a circle. Then, begin attaching your flowers and greenery using floral wire or hot glue. Arrange them in a way that looks balanced and visually pleasing, making sure to cover any gaps or exposed parts of the base.
You can add as many or as few flowers as you like depending on how full you want your headband to look. Once you’re happy with the placement of everything, trim off any excess wire and give your headband a gentle shake to make sure nothing falls off.
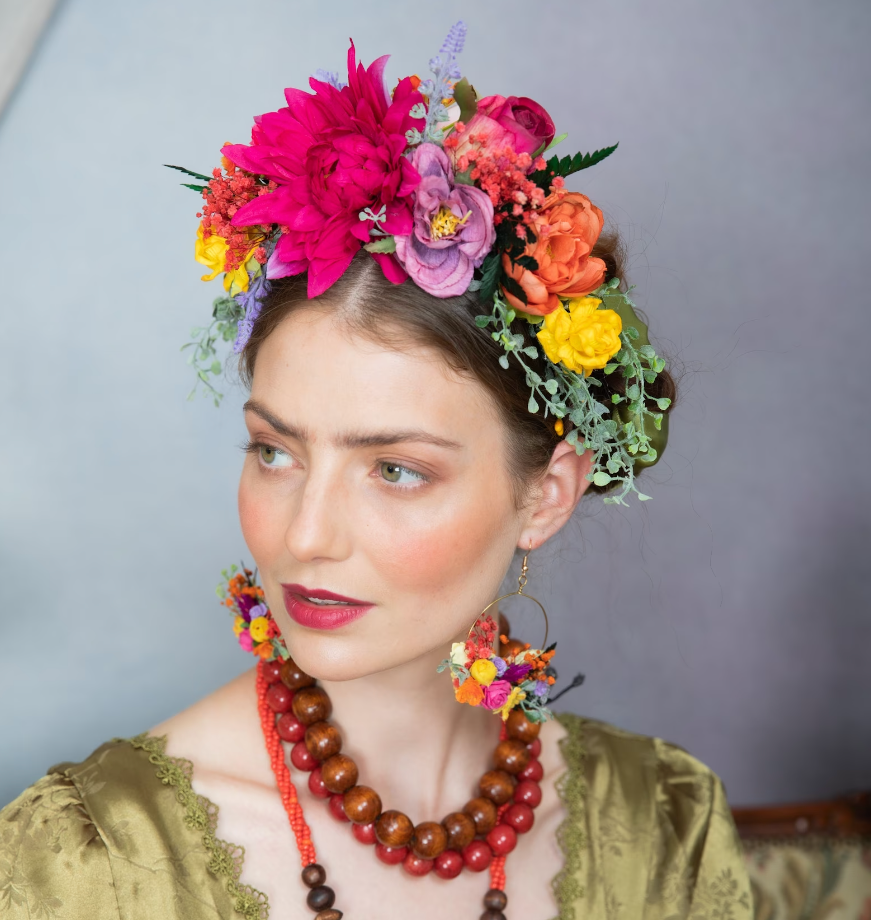
Congratulations – you’ve now made yourself a beautiful flower headband! Now all that’s left is to wear it proudly at festivals, weddings, or any other occasion where you want to feel extra special. Just remember to store it carefully when not in use so that it stays looking fresh for longer.
With a little bit of practice, you’ll soon be able to create different styles and variations of flower headbands to suit every outfit and mood.
TL:DR
Making a flower headband is an easy and fun DIY project that can be done in just a few simple steps. By following the instructions above, you’ll have your very own flower crown to wear at festivals, weddings or any other special occasion.
Gathering materials for this project is fairly easy as most of it can be found at craft stores or online shops. Once you have all of the supplies needed, assembling the flower headband is quick and straightforward. The end result will leave you with a beautiful accessory that’s sure to turn heads.
No Comments